
00053-利用 pybind11 在 Python 中实现真正的多线程-ubuntu
前言
GIL: 又称全局解释器锁. 作用是限制多线程同时执行, 保证同一时间内只有一个线程在执行. Python 由于 GIL 的存在, 导致在多核 CPU 上, 只能利用一个 CPU 的资源.
Python 自带的多线程在多核 CPU 上, 只对于 IO 密集型计算产生正面效果; 而当有至少有一个CPU密集型线程存在, 那么多线程效率会由于GIL而大幅下降.
之前写过一篇 C/C++和Python多线程初探-ubuntu 的博文, 那一篇是通过 ctypes 库引用 动态链接库 来实现真正的多线程。
ctypes 是 Python 的标准库, 只支持 C 语言, 多线程只能利用 pthread.h 实现, 它是基于 Linux 系统的, 无法做到跨平台.
C++11 引入了 thread 库, 它是基于 C++, 不基于平台. 而且 C++ 比 C 语言更加强大.
本博文的代码在 Linux 版本的 Visual Studio Code 上测试的.
操作系统:Ubuntu 20.04.4 LTS
参考文档
配置环境
std::thread API: https://en.cppreference.com/w/cpp/thread/thread .
关于如何配置 C++ 和 Python 可以参考: C/C++和Python多线程初探-ubuntu .
Pybind11 是一个能够实现 C++11 与 Python 之间的无缝可操作性的库.
pybind11 — Seamless operability between C++11 and Python
pybind11 is a lightweight header-only library that exposes C++ types in Python and vice versa, mainly to create Python bindings of existing C++ code.
pybind11 代码仓库: https://github.com/pybind/pybind11 .
pybind11 文档地址: https://pybind11.readthedocs.io/en/latest .
pybind11 文档 PDF 版本: https://pybind11.readthedocs.io/_/downloads/en/latest/pdf/ .
安装 pybind11
1 | pip install pybind11 |
Python 实现真正的多线程
- 新建一个
foo.cpp文件,粘贴下面的代码到文件中,保存文件( Ctrl+S )
1 |
|
- 新建一个
pybind11_test.py文件,粘贴下面的代码到文件中,保存文件( Ctrl+S )
1 | #!/usr/bin/env python |
- 编译成动态链接库.
1 | c++ -O3 -Wall -shared -std=c++11 -fPIC $(python3 -m pybind11 --includes) foo.cpp -o thread$(python3-config --extension-suffix) |
- 打开一个终端(运行 Python 脚本前)
1 | 安装 htop 命令 |
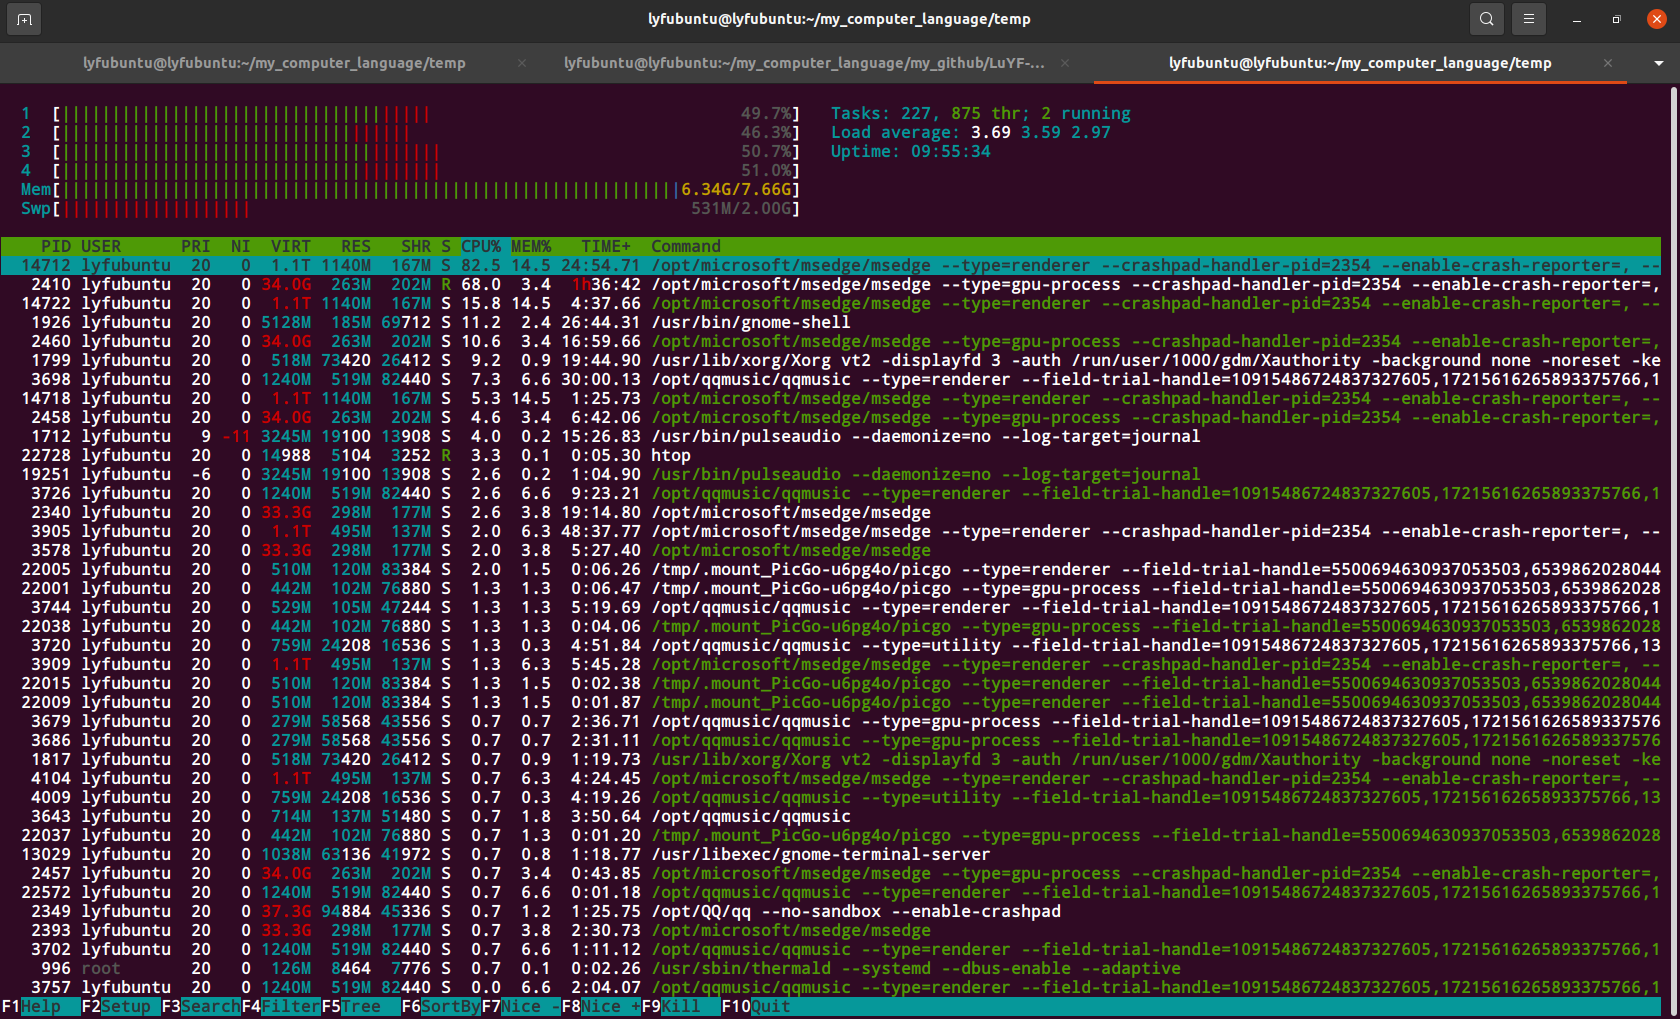
- 运行
pybind11_test.py脚本 (可以在 htop 页面, 选中 Python 脚本进程按 F9 + Enter 结束运行)
1 | python pybind11_test.py |
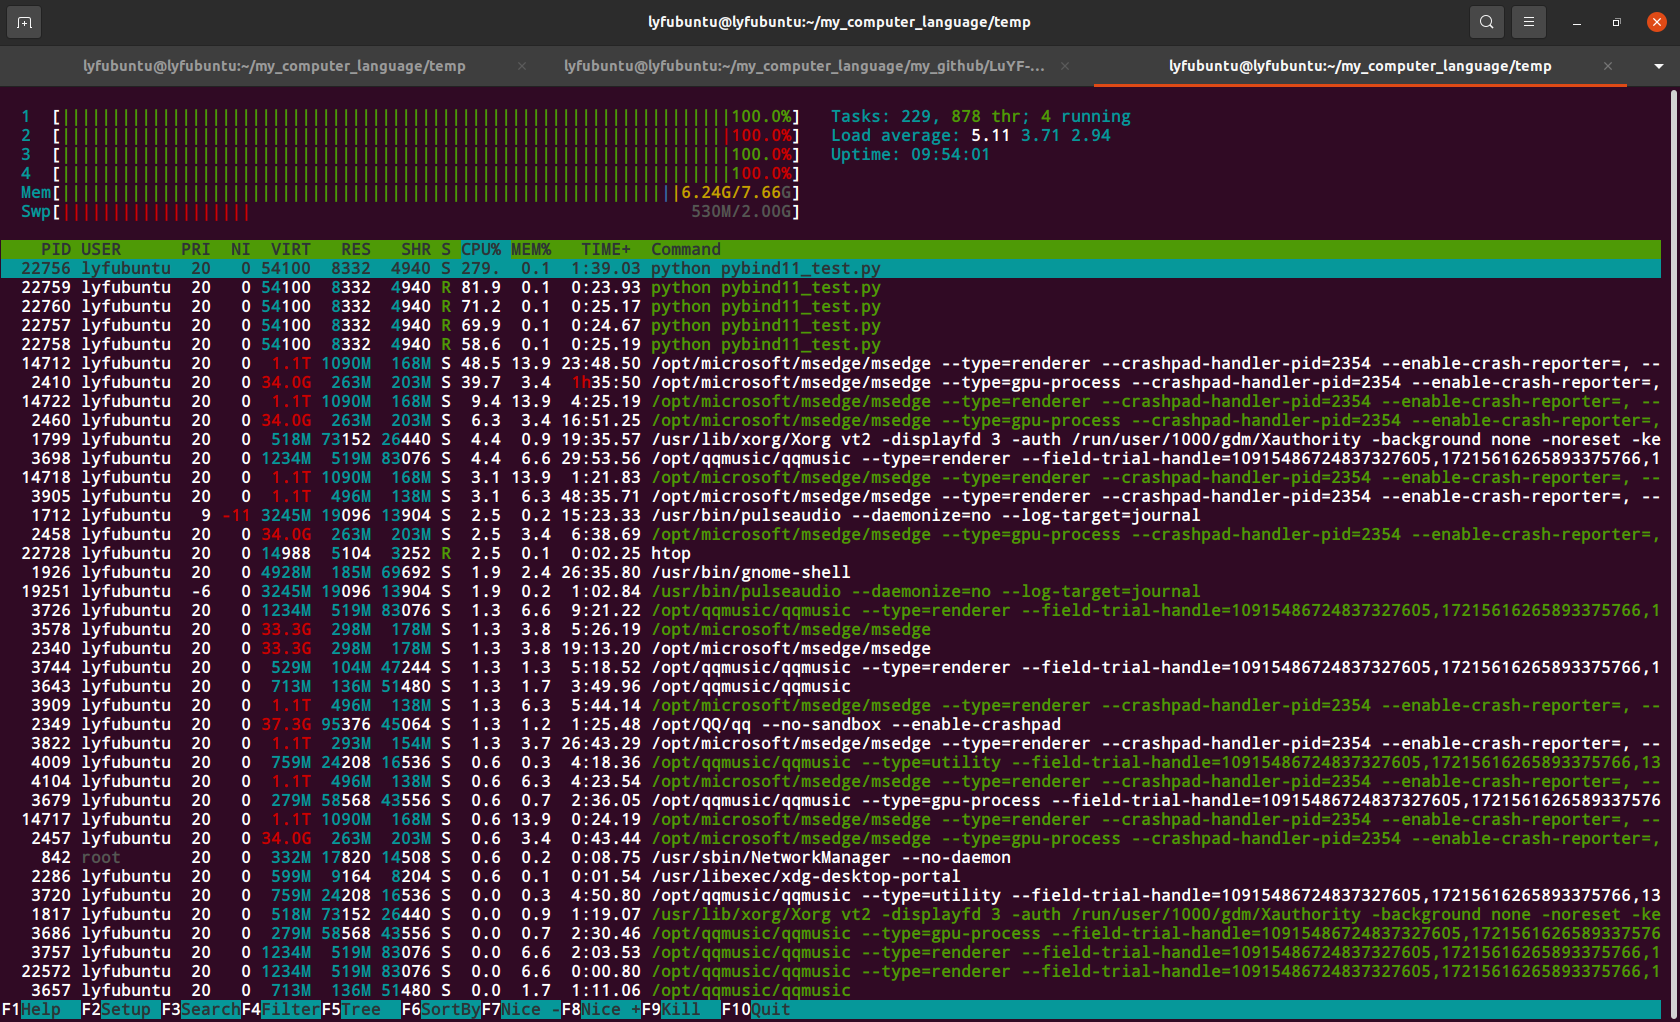
可以发现 CPU 电脑上的四个核都被利用了,实现了 Python 真正的多线程。
结语
第五十三篇博文写完,开心!!!!
今天,也是充满希望的一天。
 wechat
 alipay


.png)