
00030-Python 杂项-ubuntu
前言
介绍一些 Python 杂项,包括:Python 语法等问题。
操作系统:Ubuntu 20.04.4 LTS
参考文档
展开
Python 注释
- 使用
#进行单行注释:
1 | # 单行注释 |
- 使用
三个连续的单引号或三个连续的双引号进行多行注释:
1 | ''' |
1 | #!/usr/bin/env python |
1 | 单行注释! |
Positional-only parameters
Python 3.8 的新特性.
原教程链接: https://docs.python.org/3.11/whatsnew/3.8.html#positional-only-parameters .
There is a new function parameter syntax / to indicate that some function parameters must be specified positionally and cannot be used as keyword arguments. This is the same notation shown by help() for C functions annotated with Larry Hastings’ Argument Clinic tool.
In the following example, parameters a and b are positional-only, while c or d can be positional or keyword, and e or f are required to be keywords:
1 | def f(a, b, /, c, d, *, e, f): |
The following is a valid call:
1 | f(10, 20, 30, d=40, e=50, f=60) |
However, these are invalid calls:
1 | f(10, b=20, c=30, d=40, e=50, f=60) # b cannot be a keyword argument |
One use case for this notation is that it allows pure Python functions to fully emulate behaviors of existing C coded functions. For example, the built-in divmod() function does not accept keyword arguments:
1 | def divmod(a, b, /): |
Another use case is to preclude keyword arguments when the parameter name is not helpful. For example, the builtin len() function has the signature len(obj, /). This precludes awkward calls such as:
1 | len(obj='hello') # The "obj" keyword argument impairs readability |
A further benefit of marking a parameter as positional-only is that it allows the parameter name to be changed in the future without risk of breaking client code. For example, in the statistics module, the parameter name dist may be changed in the future. This was made possible with the following function specification:
1 | def quantiles(dist, /, *, n=4, method='exclusive') |
Since the parameters to the left of / are not exposed as possible keywords, the parameters names remain available for use in **kwargs:
1 | def f(a, b, /, **kwargs): |
This greatly simplifies the implementation of functions and methods that need to accept arbitrary keyword arguments. For example, here is an excerpt from code in the collections module:
1 | class Counter(dict): |
See PEP 570 for a full description.
copy
源教程链接: https://docs.python.org/zh-cn/3/library/copy.html .
Python 的赋值语句不复制对象,而是创建目标和对象的绑定关系。对于自身可变,或包含可变项的集合,有时要生成副本用于改变操作,而不必改变原始对象。本模块提供了通用的浅层复制和深层复制操作,(如下所述)。
接口摘要:
-
copy.copy(x), 返回x的浅层复制。 -
copy.deepcopy(x[, memo]), 返回x的深层复制。 -
exception copy.Error, 针对模块特定错误引发。
浅层与深层复制的区别仅与复合对象(即包含列表或类的实例等其他对象的对象)相关:
-
浅层复制构造一个新的复合对象,然后(在尽可能的范围内)将原始对象中找到的对象的引用插入其中。 -
深层复制构造一个新的复合对象,然后,递归地将在原始对象里找到的对象的副本插入其中。
深度复制操作通常存在两个问题, 而浅层复制操作并不存在这些问题:
-
递归对象(直接或间接包含对自身引用的复合对象) 可能会导致递归循环。 -
由于
深层复制会复制所有内容,因此可能会过多复制(例如本应该在副本之间共享的数据)。
deepcopy() 函数用以下方式避免了这些问题:
-
保留在当前复制过程中
已复制的对象的 “备忘录” (memo) 字典;以及 -
允许用户定义的类
重载复制操作或复制的组件集合。
此模块不会复制模块、方法、栈追踪、栈帧、文件、套接字、窗口以及任何相似的类型。它会通过不加修改地返回原始对象来(浅层或深层地)“复制”函数和类;这与 pickle 模块处理这类问题的方式是兼容的。
制作字典的浅层复制可以使用 dict.copy() 方法,而制作列表的浅层复制可以通过赋值整个列表的切片完成,例如,copied_list = original_list[:]。
类可以使用与控制序列化(pickling)操作相同的接口来控制复制操作,关于这些方法的描述信息请参考 pickle 模块。实际上,copy 模块使用的正是从 copyreg 模块中注册的 pickle 函数。
想要为一个类定义它自己的拷贝操作实现,可以通过定义特殊方法 __copy__() 和 __deepcopy__()。 调用前者以实现浅层拷贝操作;该方法不必传入额外参数。 调用后者以实现深层拷贝操作;它应转入一个参数,即 memo 字典。如果 __deepcopy__() 实现需要创建一个组件的深层拷贝,它应当调用 deepcopy() 函数并以该组件作为第一个参数而以该 memo 字典作为第二个参数。memo 字典应当被当作不透明对象来处理。
coding:utf-8 和 coding=utf-8
源教程地址: https://blog.csdn.net/hj_0317/article/details/122359875 .
在有些 python 脚本的开头会看到:
1 | # coding:utf-8 |
或
1 | # coding=utf-8 |
或
1 | ## -*- coding:utf-8 -*- |
的代码行,它们是什么意思呢?
作用
这三行代码都是起到 “设置编码格式” 的作用,三者可以说作用一样,都是声明该python文件是按照 “utf-8” 编码的。
在python2中,默认采用ASCII编码,此时如果文件中出现中文,则程序会报错,即使中文在注释中,程序也会报错。如果想在python2中添加中文,则需要加入上面三行代码中的一个,以声明文件按照 “utf-8” 编码,从而支持中文字符。
在python3中,默认采用 utf-8 编码,所以一般不用特意声明。
注意:“coding” 和 “utf-8” 之间使用 “:” 或者 “=” 均可,但是 “:” 和 “=” 左边不能有空格,否则会报错。
位置
一般,这行设置编码格式的声明代码会放在第一行或者第二行,否则就不起作用了。
pip install -i 国内镜像地址
1 | pip install 包名 -i 国内镜像地址 |
国内常用源镜像地址
清华1 | https://pypi.tuna.tsinghua.edu.cn/simple |
1 | http://mirrors.aliyun.com/pypi/simple/ |
1 | https://pypi.mirrors.ustc.edu.cn/simple/ |
1 | http://pypi.hustunique.com/ |
1 | http://pypi.sdutlinux.org/ |
1 | http://pypi.douban.com/simple/ |
Installing Miniconda
Miniconda 官网: https://conda.io/en/latest/miniconda.html .
Miniconda is a free minimal installer for conda. It is a small, bootstrap version of Anaconda that includes only conda, Python, the packages they depend on, and a small number of other useful packages, including pip, zlib and a few others. Use the
conda installcommand to install 720+ additional conda packages from the Anaconda repository.On Windows, macOS, and Linux, it is best to install Miniconda for the local user, which does not require administrator permissions and is the most robust type of installation. However, if you need to, you can install Miniconda system wide, which does require administrator permissions.
源教程链接: https://d2l.ai/chapter_installation/index.html .
Your simplest option is to install Miniconda. Note that the Python 3.x version is required. You can skip the following steps if your machine already has conda installed.
Visit the Miniconda website and determine the appropriate version for your system based on your Python 3.x version and machine architecture. Suppose that your Python version is 3.9 (our tested version). If you are using macOS, you would download the bash script whose name contains the strings “MacOSX”, navigate to the download location, and execute the installation as follows (taking Intel Macs as an example):
1 | The file name is subject to changes |
A Linux user would download the file whose name contains the strings “Linux” and execute the following at the download location:
1 | The file name is subject to changes |
Next, initialize the shell so we can run conda directly.
1 | ~/miniconda3/bin/conda init |
Then close and reopen your current shell. You should be able to create a new environment as follows:
1 | conda create --name d2l python=3.9 -y |
Now we can activate the d2l environment:
1 | conda activate d2l |
删除 conda 虚拟环境
1 | conda env remove -n 环境名称 |
1 | conda env remove --help |
源教程地址: https://blog.csdn.net/ECHOSON/article/details/104774215 .
使用中科大的源:
1 | conda config --remove-key channels |
Anaconda 虚拟环境配置导出与导入
原教程链接: https://blog.csdn.net/qq_44770178/article/details/128327732 .
- 导出当前环境中的配置信息至 yaml 文件(包括环境名).
1 | conda env export > environment.yaml |
- 导出当前环境中 pip 安装的包.
1 | pip freeze > requirements.txt |
- 导入环境配置.
1 | 将 yaml 文件中的配置安装至创建的虚拟环境(与导出的环境同名) |
源教程地址: https://blog.csdn.net/qq_39763246/article/details/122093208 .
创建、激活、删除
1 | 创建基于python3.6 名为env_name的环境 |
导入/导出conda环境
方式一:
导出为yaml文件,这种方式只是把环境需要的各种包名给列出来,不会把包的内容给导出,它只是在新电脑上导入后会联网下载环境。
1 | 激活需要导出的环境 |
方式二:
推荐,可以将环境整个内容导出,在新电脑上直接使用。
1 | 需要先安装打包工具 |
计时器
源教程地址: https://blog.csdn.net/weixin_42233605/article/details/123382596 .
1 | import time |
输出结果
1 | 运行时间为 4 seconds |
matplotlib 保存图片出错
源教程地址: https://www.jianshu.com/p/218dde3ef1c1 .
问题: 使用如下代码, plt.savefig 保存图片时一片空白:
1 | plt.show() |
产生这个现象的原因很简单:在plt.show()后调用了plt.savefig(),在plt.show()后实际上已经创建了一个空白的图片,这时候再plt.savefig()就会保存这个新生成的空白图片。
解决方法 1: 在plt.show()之前调用plt.savefig()
1 | plt.savefig('filename.png') |
解决方法 2: 画图的时候获取当前图像 (这一点类似于Matlab的句柄的概念)
1 | gcf: Get Current Figure |
设置 Jupyter Notebook 密码
1 | $ jupyter server password |
更多内容
Python str.strip() 方法
1 | Help on method_descriptor: |
1 | Python 3.9.7 (default, Sep 16 2021, 13:09:58) |
str.isspace() 方法
Return True if the string is a whitespace string, False otherwise.
1 | help(str.isspace) |
1 | Help on method_descriptor: |
str.startswith() 方法和 str.endswith() 方法
1 | help(str.startswith) |
1 | Help on method_descriptor: |
1 | help(str.endswith) |
1 | Help on method_descriptor: |
Python readline() 和 readlines() 方法
readline() 和 readlines() 按行读取文件。二进制文件以 \n 作为行结束的标志。
Python readline() 方法
Python readline() 方法读取文件中的一行,包含 \n,语法如下:
1 | file.readline([size]) |
-
file: 打开的文件对象,如open()返回的文件对象。 -
size: 可选参数,一次最多读取的字符数。 -
前提:open()指定的模式为可读模式(r、rb、r+、rb+)。
Python readlines() 方法
Python readlines() 方法读取文件中的所有行,返回一个字符串列表 (每一个元素为文件中的一行内容,包含行尾的 \n),语法如下:
1 | file.readlines() |
-
file: 打开的文件对象,如open()返回的文件对象。 -
前提:open()指定的模式为可读模式(r、rb、r+、rb+)。
os.environ() 方法
源教程链接: https://docs.python.org/zh-cn/3/library/os.html#os.environ .
一个 mapping 对象,其中键值是代表进程环境的字符串。例如,environ['HOME'] 是你的主目录(在某些平台上)的路径名,相当于 C 中的 getenv("HOME")。
这个映射是在第一次导入 os 模块时捕获的,通常作为 Python 启动时处理 site.py 的一部分。除了通过直接修改 os.environ 之外,在此之后对环境所做的更改不会反映在 os.environ 中。
该映射除了可以用于查询环境外,还能用于修改环境。当该映射被修改时,将自动调用 putenv()。
在 Unix 系统上,键和值会使用 sys.getfilesystemencoding() 和 'surrogateescape' 的错误处理。如果你想使用其他的编码,使用 environb。
备注: 直接调用
putenv()并不会影响os.environ,所以推荐直接修改os.environ。备注: 在某些平台上,包括
FreeBSD和macOS,设置environ可能导致内存泄漏。请参阅putenv()的系统文档。
可以删除映射中的元素来删除对应的环境变量。当从 os.environ 删除元素时,以及调用 pop() 或 clear() 之一时,将自动调用 unsetenv()。
np.unique() 方法
Returns the sorted unique elements of an array.
1 | import numpy as np |
1 | Help on function unique in module numpy: |
np.random.permutation() 方法
numpy.random.permutation(x)
Randomly permute a sequence, or return a permuted range.
If x is a multi-dimensional array, it is only shuffled along its first index.
New code should use the permutation method of a default_rng() instance instead; please see the Quick Start.
Parameters
x: int or array_like, If x is an integer, randomly permute np.arange(x). If x is an array, make a copy and shuffle the elements randomly.
Returns
out: ndarray, Permuted sequence or array range.
Examples
1 | np.random.permutation(10) |
1 | np.random.permutation([1, 4, 9, 12, 15]) |
1 | arr = np.arange(9).reshape((3, 3)) |
pandas Series.str.split()
1 | import pandas as pd |
matplotlib 隐藏坐标轴
源教程地址: https://blog.csdn.net/weixin_51824280/article/details/126758650 .
1 | # 方法一: |
不隐藏坐标轴:
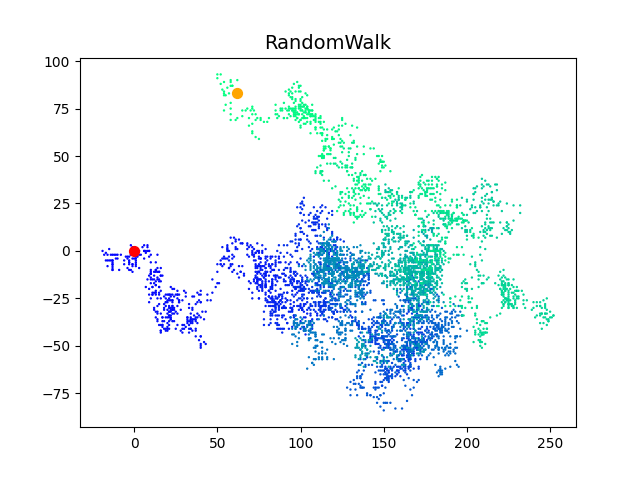
方法 1 和方法 2 效果相同:
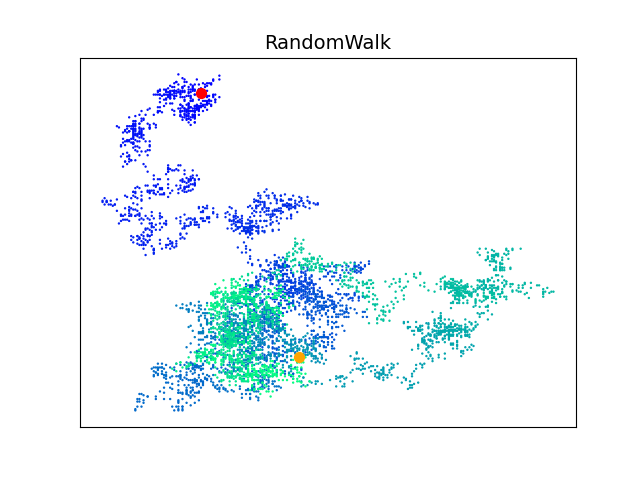
方法 3:
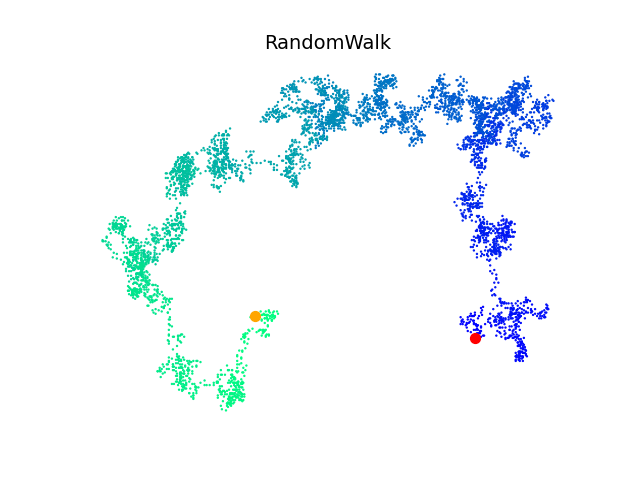
fig.add_subplot() 方法
fig.add_subplot(xyz) 是 fig.add_subplot(ROW,COLUMN,POSITION) 的简写形式, 其第一个参数表示行数, 第二个参数表示列数, 第三个参数表示你正在绘制图的位置.
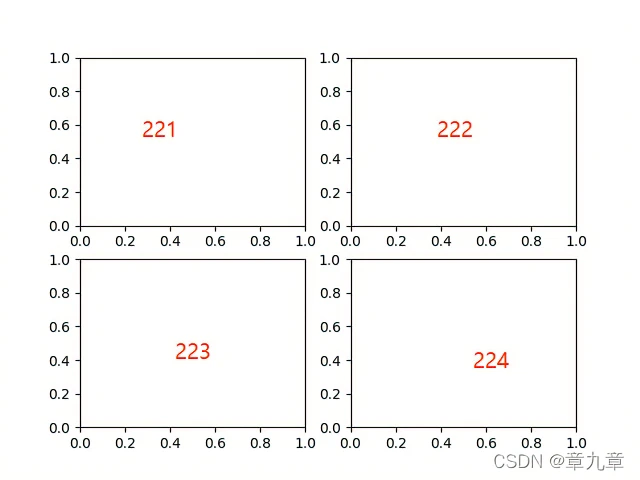
生成上图的代码是:
1 | import matplotlib.pyplot as plt |
上面代码与下面代码是等效的:
1 | import matplotlib.pyplot as plt |
Install MulticoreTSNE
1 | pip install cmake==3.18.4 -i https://pypi.tuna.tsinghua.edu.cn/simple |
Installing scikit-learn
官网安装页面: https://scikit-learn.org/stable/install.html .
1 | pip install -U scikit-learn |
安装 pycocotools
windows:
1 | pip install pycocotools-windows |
linux:
1 | pip install pycocotools |
结语
第三十篇博文写完,开心!!!!
今天,也是充满希望的一天。
 wechat
 alipay